Showing posts with label I3110 Assignments. Show all posts

Thursday, 12 December 2013

Game Engine Design and Implementation: A Semester Post Mordem

It's been a long, hard semester but it's finally coming to an end. The past month has been overwhelmingly busy between programming Gamma Gears and wrestling with course work and the like. In this blog, I'll talk about a few of the lessons I've learned this semester and a bit about what I've been up to.

Lesson 1: Gamedevs Don't Do Documentation.


At the start of the semester we were required to use a pre-made engine, despite my requests to use our Dungeon Boy engine from GTFO: The Double Dungeon Debacle. My professor felt that by using a third party engine (in our case Sony's Phyre) we could get straight to the making the most important part, gameplay.

Yeah I mad.


I didn't believe him for a second. We had a pretty good workflow with our existing engine with working combat, and all necessary game engine components working in acceptable capacity. Getting set up with a new engine would take time. There would be so much troubleshooting and failure ahead, with no merit to what we had previously accomplished.

A wise prof once said: "Gamedevs don't do documentation". I thought he was kidding before I met Sony's Phyre Engine.


When using a tool as extensive as a game engine for the first time, there is a lot of uncharted territory. In some cases it's like being given a bag of futuristic Alien tools with little to no instructions on their intended use.

Samples like these were our primary means of deconstructing Phyre.


To clarify, the engine does come with some documentation that will get you started, but there are many common tasks that are not detailed or covered. The instructions are often incomplete and downright negligent. In order to get started making a game with this tool, I had to deconstruct the few sample projects I was provided with. Unfortunately none of these sample projects contained any form of combat, so this left me with very little reference for that aspect of the game. Chances are if you didn't help make Phyre engine, you're going to run in to some issues.

Thankfully for some of the more technical issues (like how to create a phyre base project) we were able to get help from one of our fellow classmates. His blog can be found here: http://mikedaprogramma.blogspot.ca/

Lesson 2: Choosing an engine should be about the right tool for the right job.

To make a long story short, development on Gamma Gears was slow and often confusing. Due to the intense learning curve in working with Phyre and minimal of availability of assets early on, getting the basics up and running took much longer than expected. Once we managed to get our skeletal animation system working, we had decent animation and locomotion with environment collision detection. All of these features were implemented in script as recommended in Phyre's documentation and demonstrated in the samples. We took this approach so that we could build our game scenes using the Phyre level Editor which we thought would make things easier. Not to mention the samples were implemented in this way. Once the game is constructed in the level editor, the assets are exported and the scene can be loaded in code.

We ran into problems when trying to access data between our script (lua) and code (c++) platforms. This was most likely due to our own inexperience with the tools, but as a result we were unable to implement certain "code only" features such as GUI and audio.


To make matters worse, despite my best efforts at implementing combat in script, things just weren't coming together.

I knew I had to present some form of gameplay to my Game Design professor today, so last night I coded a combat prototype using our Dungeon Boy engine in about 12 hours. Many new systems had to be added (multiplayer input, chain combos, multiplayer camera), as well as countless adjustments to movement, collision, animation states, and assets. This was only possible because I was working with tools that I had created.

Working Title Screen: Check
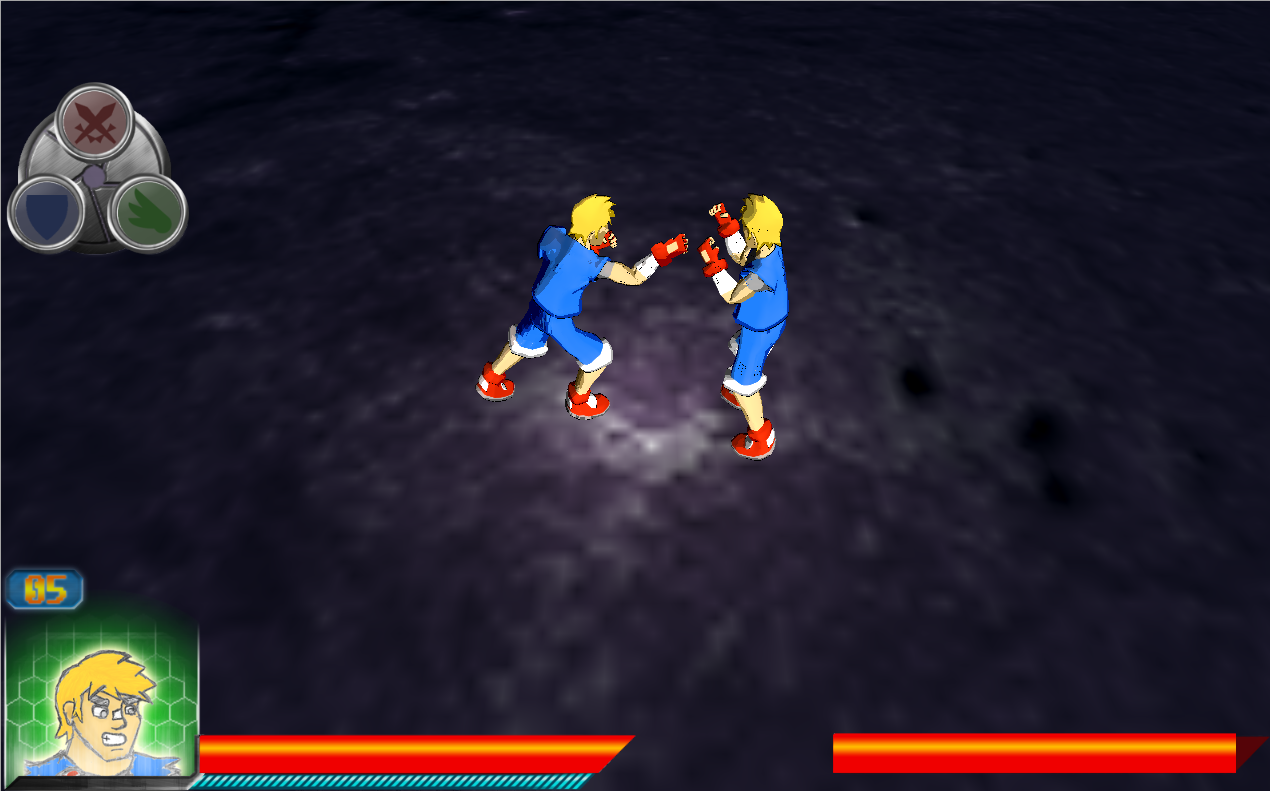
It may not look like much, but this is gameplay. There was very little time for visual adjustments.
I can't wait to sleep after this blog is over. 

In 12 hours we achieved fully functional 1 on 1 multiplayer combat (I wouldn't say it's super fun yet but you can beat eachother up pretty good), with GUI, sounds, and a basic restart event. This build is sadly, more playable than our Phyre build, which I've spent at least 10 times the hours working on.

If there's a point I'm trying to make here, it's the one about getting right to the gameplay. Sometimes the right tool for the right job is the one you made yourself.

Lesson 3: The Shawarma effect

Mmmmm Shawarma.


The shawarma effect is a term that refers to the continuous stripping down of an idea or project.

Often when designing games, the initial scope is set too high. The process of refining the idea is usually very much about simplifying it into it's most important parts. Over the course of the semester, Gamma Gears has been many different things. The Gamma Gears (both prototypes) you see in this blog is nowhere near as complex as planned in the design document. It's meaty bits have been trimmed down until only the base is present. This is a natural reality when creating early prototypes of games, especially when running on a tight schedule.

To deal with the shawarma effect, it's important to strip your game down early rather than later when it's time to actually implement your design.


Thursday, 5 December 2013

Camera Systems: The Good, The Bad and The Ugly

I don't know who this guy is, but I hope you agree that his face is awesome.

Camera systems in games play an extremely important role in delivering an enjoyable experience. Not only does the camera represent the viewpoint of the player, it is also responsible for delivering a visually pleasing and functional scene. In this blog I'll be discussing some camera systems from older games and eventually, some much better ones from a few newer titles. Over the years developers have learned from each other's mistakes, and gamers' standards have risen. Back in the day, bad cameras were almost an acceptable part of 3D games. Now as games continue to grow in complexity, so do the cameras that power them.

Ok let's get started shall we.


Old Games, Bad Cameras:

Early Resident Evil Games

I remember this game being so scary in 1996..

Despite being one of my favorite game series' (with the exception of RE6), the Resident Evil franchise has had a history of awkward fixed camera systems. This was largely due to the levels being made up of 2D sprites (pre RE: Code Veronica). Often the player would be engaged by enemies located off screen, or occluded by objects in the level. To make matters worse the movement controls were not relative to the camera, giving the characters a tank like feel. Some would argue that the early RE games owe their scariness to the fumbly controls and awkward camera angles.

Skip to 6:24 to see what I mean.


Capcom eventually learned their lesson with Resident Evil 4, popularizing the now standard "over the shoulder" camera perspective. We'll talk about this one in the "good cameras" section.


Early Tomb Raider Games

Again don't get me wrong, I love these games. But boy did the camera make me rage.

The Tomb Raider series was one of the original innovators of the traditional 3rd person camera. The camera is offset a certain distance from Lara in the Y and Z axes, and follows her constantly. The camera interpolates to Lara's orientation as she runs forward (but not when turning on the spot). This is all well and good for the most part.

The real problems arise when the game's camera collides with the environment. This can make it very difficult to make precise jumps, or avoid the game's lethal obstacles. Combine this with the camera being unaffected by enemies (on screen or off) and you're in for some pretty frustrating scenarios.

Dishonorable mention: Prince of Persia Warrior Within

SPOILER: Sands of Time was better.

As you probably guessed, I am a fan of the Prince of Persia series. The camera system in the Sands of Time trilogy was very good for the most part. However in Warrior Within, whenever the Prince encounters "the Dahaka" the camera takes a turn for the worst (no pun intended).


The transitions from third person camera to fixed camera can be quite jarring, especially since the camera is moving in such a way that the player cannot see the platforms ahead.

Thankfully they did not continue to use this system in subsequent Prince of Persia titles.

Games with good cameras:

God of War


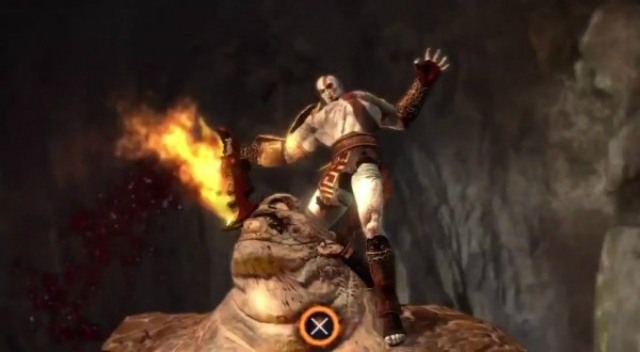
There are many cases where a camera system is so natural that we as players don't notice it all. Chances are if nobody is complaining about it, the developers have gotten it right. God of War is known for it's brutal cinematic gameplay that makes you feel like a total badass. The game gives no camera control to the player as the right analog stick is used for dodging, yet somehow it works nearly flawlessly.

The series is partially responsible for popularizing the node based, cinematic action camera. This camera system involves interpolating between set camera nodes (positions in 3D space) based on the position of the main character. Each camera node has it's own properties (orientation, field of view) that are also interpolated accordingly. The main character's movement may also have a weighted influence on the camera's movement depending on the scene.

In combat the enemies and player become weighted nodes, each with their own varying amounts of influence on the camera's target position. The larger and more threatening enemies have a greater influence than the smaller pawns. This ensures that the scene is always well represented, and the player rarely dies to off-screen threats.


The game makes heavy use of quick time events (QTEs) which trigger a separate camera, synced to the animation of the event. As the animation progresses (Kratos decapitating a poor foe), the camera shakes and interpolates along a curve. These camera curves are specified in the QTE animations themselves.


Resident Evil 4


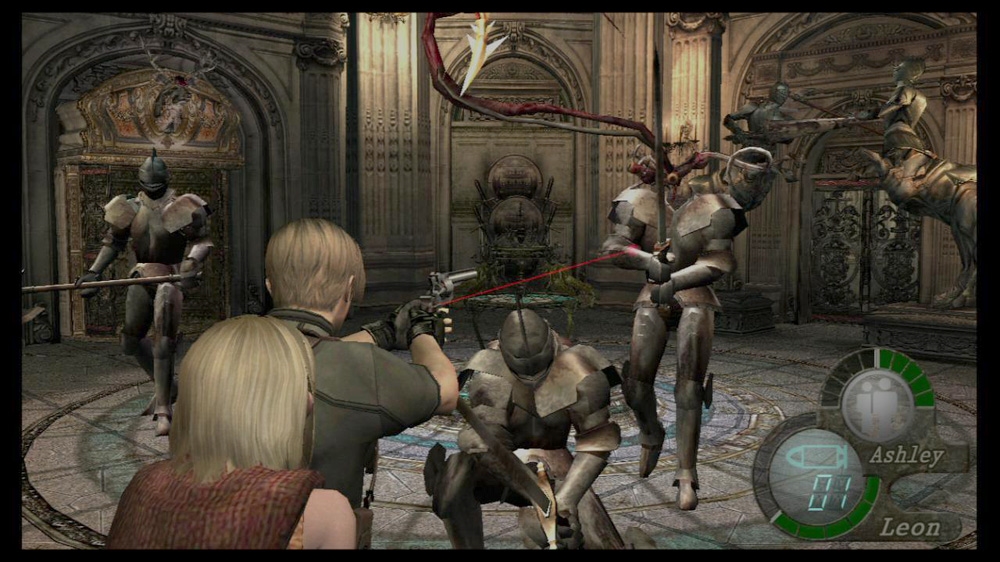
Resident Evil 4 was a major departure from Capcom's previous RE titles. For starters, the worlds were rendered in full 3D. While Code Veronica and Resident Evil Zero had already used 3D environments, this was the first Resident Evil game to adopt (and perfect) the "over the shoulder" camera. 

This camera is fully controlled by the player, giving them precise aim during combat and a close up view of the game's many puzzles and objectives. These were two firsts for the series which lead to a change of direction to more action based gameplay, especially in subsequent titles.

Metal Gear Solid 4

I can't write a blog about cameras and not mention the Metal Gear Solid series. Notorious for being more movie than game, the MGS titles have always had a cinematic quality about them. Metal Gear Solid 4 is no exception.


As demonstrated in the video above, the game makes use of a variety of different cameras depending on the gameplay situation. The primary camera is a third person orbiting camera centered on Snake. It can be manipulated completely via the right analog stick. During combat, snake must aim in either first person view, or and over the shoulder view reminiscent of RE4. Gameplay aside, the MGS series has some of the best cutscenes in video games and much of this is thanks to the camera work. A typical MGS cutscene features many spline paths for cameras to interpolate along, as well as realistic camera shake and spring functions to make things feel lifelike.

If there's any one game that's demonstrated pretty much every camera technique I've mentioned (and more) to a tee it's this one.

So what have we learned?

A good camera system doesn't just need to make a game look pretty, it also has to work! This may seem self explanatory, but it can be easy for a camera to ignore information that is vital to gameplay.

Tuesday, 3 December 2013

Benefits of Scripting and it's use in modern Game Engines

A few popular examples of General purpose scripting languages

Scripting is a powerful tool that allows a game engine to become dynamic and highly modifiable. This tool can drastically improve iteration time, and serves to empower content creationists among other benefits. In this blog I hope to explain what makes scripting so beneficial and give a brief rundown of how we'll be implementing scripts in my team's upcoming game.

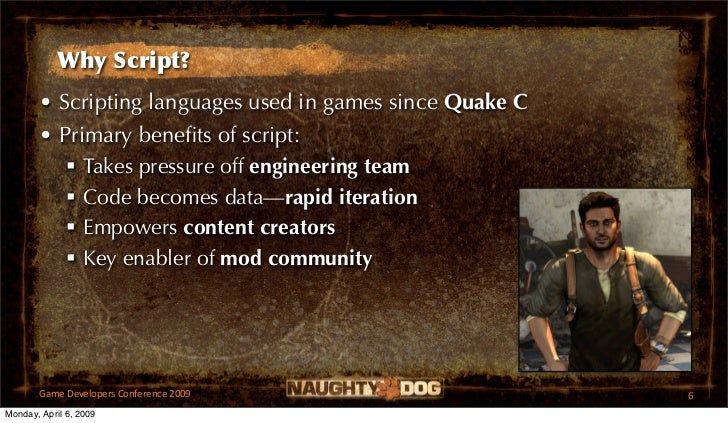
Naughty Dog's take on scripting at GDC '09

Having a scripting system in place means that core game-play features can be implemented in a much simpler environment (Editor tools such as UDK, Unity or Phyre) without touching any of the C++ code. This gives content creators the ability to script complex scenarios, and most importantly manipulate component based game objects. 

That was a bit of a mouthful. 

What exactly does component based mean?


Examples of components in Unity


Using a component based model means that game objects are composed of an assortment of components, each with their own properties and scripts. This makes it possible to create highly complex objects with a variety of functionality, all within a simplified scripting interface.

In example 1, the AIComponent is pre-built before being added to the entity. The content creator can only select an AIComponent based on what was specified by the programmer. In example 2, the AI states are created as separate components and are modifiable by a designer without interference from a programmer.

From Damien Isla's GDC '11 presentation on scripting

Script can be seen as the glue that binds an object's components together. It tells each component what to do and how to communicate with other components and other objects. 

Component based, script heavy models have the benefits of being easy to use and very agile. They also help to easily separate the re-usable engine code from the game logic specific to any one project. This is extremely convenient for fast iteration and prototyping.

Working with scripting and component models in Phyre Engine:

Sony's Phyre engine includes a level editor tool that uses lua script to provide a powerful environment for content creation. In Phyre it is possible to instantiate and manipulate components in both C++ and script. The scripting component to Phyre is heavily emphasized and has been the main basis of everything we've implemented in our game thus far.


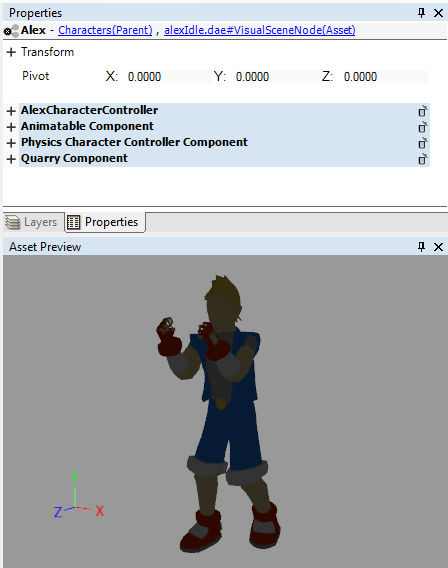
Here is an example of our main character's game object. You can see he contains a small collection of components which handle various tasks.

- Physics Character controller: Contains a script that handles physics based movement and collision detection.
- Character controller: Contains a script that handles animation according to user input and the movement output from the physics character controller. Interfaces with all other components.
- Animatable component: Contains the animation sets for the character exported from maya. Manipulated by the character controller component.

How scenes are constructed in Phyre:

Assets and Components are stored in the palette view where they can be customized.

Instances are created in the objects box, and are populated with components and assets by dragging them from the palette.

Here is a simple scene in our current work of progress game build. It's objects are displayed in the object hierarchy above.

Why not make everything in script?!


So far I've only said good things about the use of scripting. That's because it can be extremely useful and versatile as previously stated. However it does come at a cost to performance. Due to the nature of run-time scripting languages it may not be optimal to implement performance heavy tasks using script. Of course this is very dependent on the specific game engine/implementation and the strength of it's code/script relationship. Phyre engine in particular contains script access to complex code systems such as animation and collision detection. In fact, all of our animation, physics and locomotion code is currently being done in script.

That about wraps up my discussion of the power scripting languages add to game engines. If you have any questions or are looking for any specific information regarding Phyre engine feel free to leave a comment, it seems the documentation is sparse and the forums are non-existent.


Wednesday, 27 November 2013

NPC Navigation: The Insomniac Way

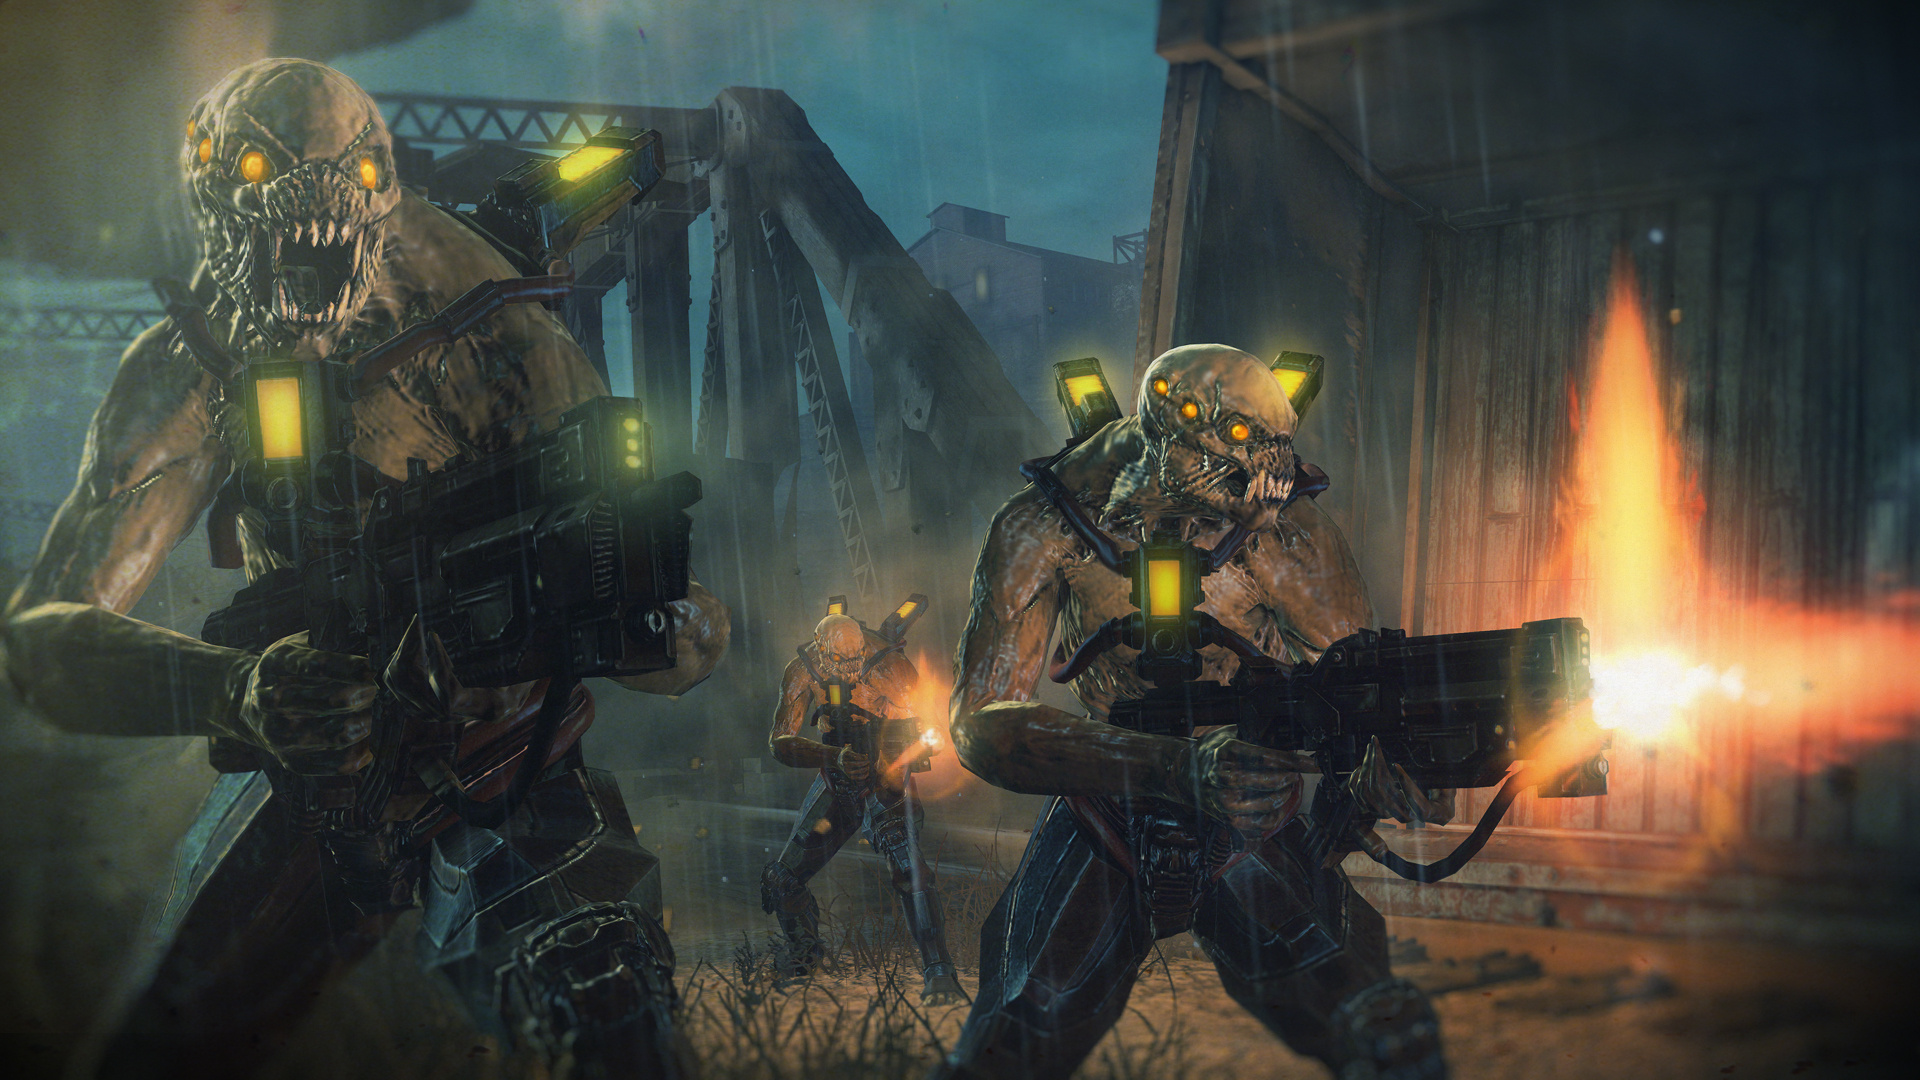
Navigation is an extremely important aspect of creating engaging and interesting game AI. Anyone who's witnessed an NPC walk tirelessly into walls and obstacles knows it can break the immersion very quickly. In order to create visually pleasing NPC navigation, a delicate balance between goal based path-finding, obstacle avoidance, and animation must be established. This is demonstrated in excellent fashion by Insomniac studios (creators of Spyro The Dragon, Ratchet and Clank and Resistance) in their recent titles released on the PS3 console. I recently had the privilege of watching Reddy Sambavaram's GDC talk (http://www.insomniacgames.com/navigation-gdc11/) detailing the navigation systems of their recent games and some techniques from their upcoming titles. With this new-found knowledge, I will provide a brief rundown of how Insomniac achieved such fluid character navigation in their recent titles (Particularly the Resistance series).

Navigation can be seen as a step by step process, so I will try to explain it as such.

Step 1: Path-finding

Finding the shortest, or most cost effective path between a series of checkpoints (called nodes) is a fairly simple process. First, a cost value is assigned to each node. This cost is usually representative of the distance or time it takes to travel to the node, however this may not always be the case. If desired, the cost could literally be a monetary value required to travel from node A to node B.

Once the cost of traveling from node to node has been assessed, the A* algorithm can be applied to determine the most cost effective path. This is without a doubt the easiest part of the path finding process. The hard part is selecting our nodes.

When you hear the word node, you may be tempted to think of a single coordinate in space. Most of the time this is not an incorrect assumption, however in a comprehensive 3D game engine, path nodes are usually represented as geometry. These bits of geometry are more commonly referred to as Navigation Meshes (Nav Meshes for short).

Image captured from Reddy Sambavaram's GDC presentation

Nav Meshes are convex 3D polygons which are used to represent the space that NPCs can traverse. In the path-finding algorithm, these are our nodes. Nav meshes can be (and have historically been) generated in different ways. In Resistance 1 and 2, the nav meshes were laid out by level designers in Maya. Eventually this system was overhauled in favor of an automated nav mesh generator in the team's world editor. Insomniac's process of automated nav mesh generation uses voxels (3D volumetric pixels) to approximate the traversable area of the game world. This is done in a step by step process as follows:

Image captured from Reddy Sambavaram's GDC presentation

Once the nav mesh has been generated, and the A* algorithm applied we can move on to:

Step 2: Steering

Steering NPCs in a realistic way is mostly a combination of obstacle avoidance, and spline interpolation. These techniques ensure that enemies do not walk into objects, or move in boring linear paths. For simple navigation around corners, Insomniac uses the "string pull" method to smooth the AI's turning.

Image captured from Reddy Sambavaram's GDC presentation

For more complex sets of obstacles however, this technique is not enough

In scenarios with multiple small obstacles, "escape tangents" are computed for each obstacle. These are simply possible vectors which allow the NPC to avoid contact with the obstacle.

Image captured from Reddy Sambavaram's GDC presentation

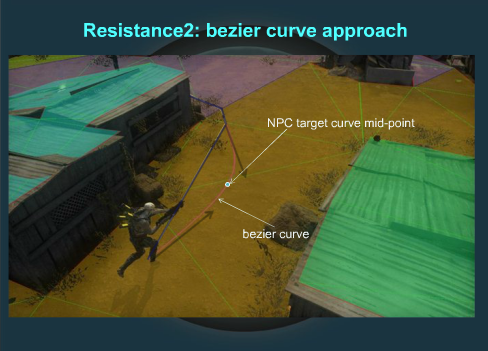
Simply having NPCs move in straight lines while avoiding obstacles is not enough. These escape tangents are used as the basis of bezier curves which will produce a fluid, more realistc path of motion.


Ok, now we have NPC's that can avoid obstacles, and move along a spline. What else is left?

Step 3: Animation

In order for the AI to traverse a dynamic environment in a believable fashion, each NPC must animate differently according to obstacles/interactables in the game world. The most notable example is when the AI must traverse some sort of height difference, whether it be by climbing, jumping up, or jumping down. Insomniac solves this issue by using a system called "custom links". Custom links are like nodes, except they allow the designer to specify what animation the NPC will play upon traversal, and even allow the NPCs to modify the cost of individual nodes (for example if one NPC climbs through a window, the link's cost will increase while he does so). This technology allows for highly dynamic AI that can traverse the level in interesting ways.

These 3 main components when done right, come together to create very believable AI navigation in games. Insomniac does an exemplary job tying these components together, and with very impressive performance to boot. If you'd like to learn more about Insomniac's navigation ingenuity, check out Reddy Sambavaram's original GDC Talk (http://www.insomniacgames.com/navigation-gdc11/).